The Melted-Crayon Lip Balm I Made Because I Wanted a Unique Shade
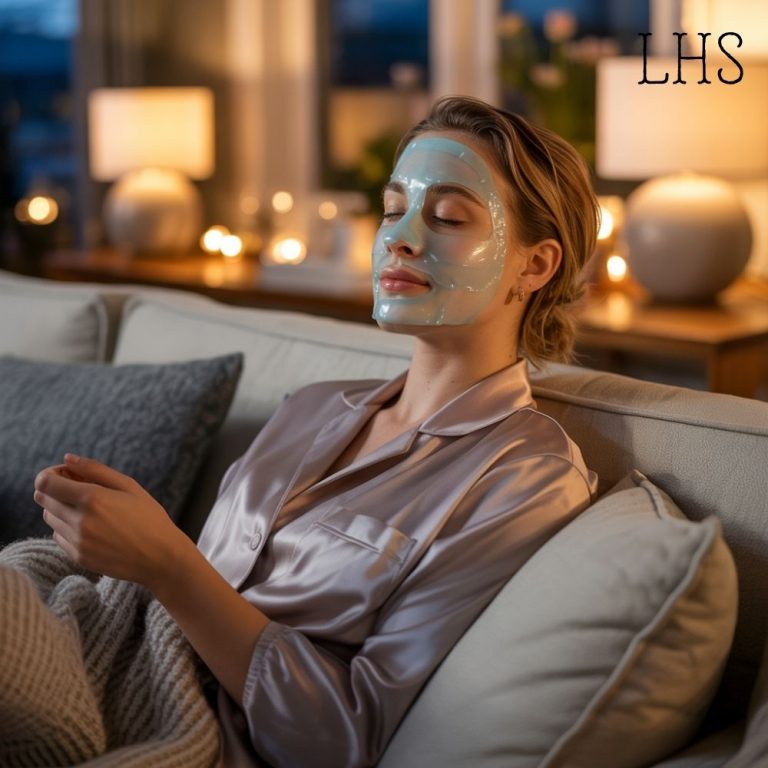
It all began on a quiet afternoon when the light in my room was so soft and golden that everything on my desk looked slightly magical, especially the little pile of balms and glosses that had slowly grown into a chaotic rainbow over the years.
I remember wishing for a color that felt playful and imperfect and full of personality, something between a bright candy tint and a soft watercolor stain, a shade that sparkled with its own energy instead of looking like a predictable trend I had seen a hundred times before.
I sat there, swatching and mixing and smearing pigments on the back of my hand like I always do when creativity starts bubbling up inside me, and that was when my eyes landed on the box of crayons sitting on the shelf behind me.
They weren’t fancy crayons, just a forgotten set left over from a craft night, but in that moment they looked like tiny cylinders of pure, untapped color waiting to be melted, mixed, swirled, and transformed.
Something inside me whispered, “Why not?” and I felt that delightful spark of mischievous inspiration that usually leads me into my favorite beauty discoveries.
Why Crayons Actually Make Sense as Pigment
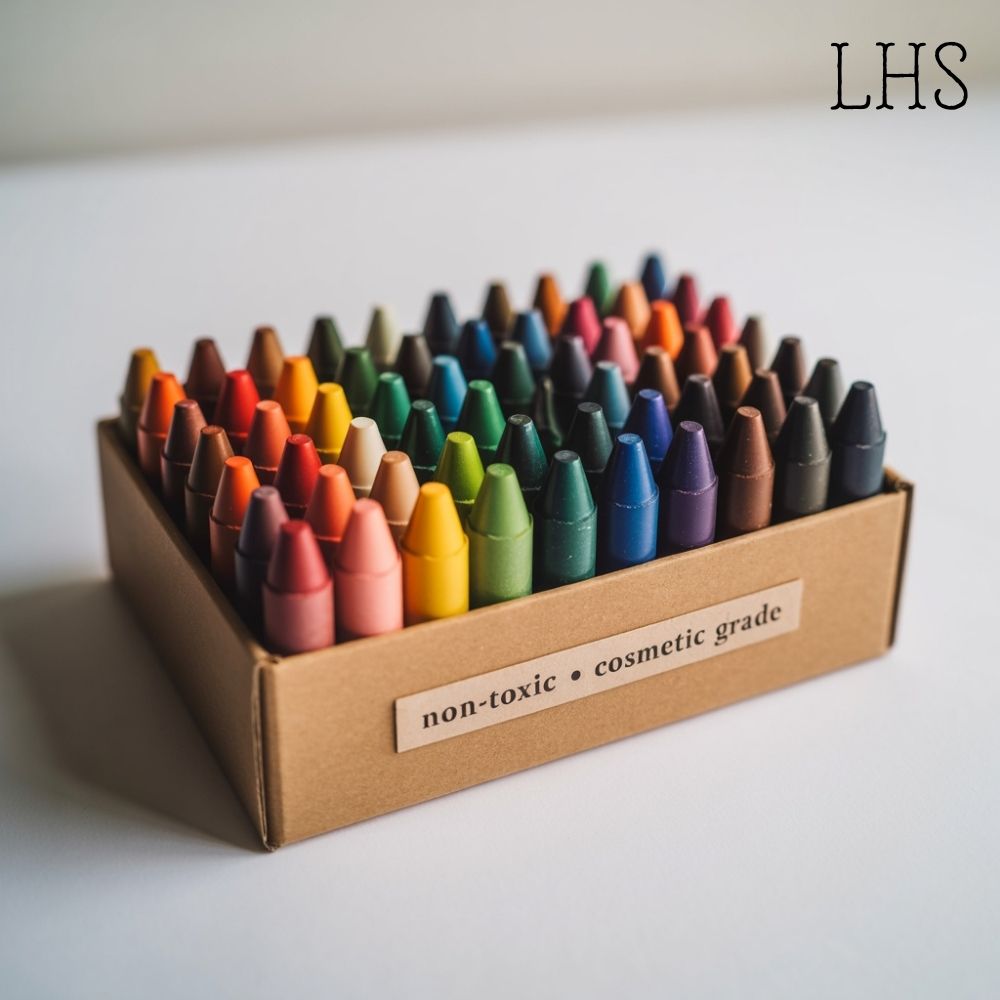
Before anyone panics, let me say the part that matters: most crayons are made of cosmetic-grade wax and safe pigments, which is why so many creative DIY lovers have used them to make lip colors in a pinch.
But the real reason I love them for experiments has less to do with chemistry and more to do with pure, joyful creativity. Crayons have this concentrated punch of color that behaves differently from makeup pigments.
The beauty of melting crayons is in the chance to explore a color that doesn’t exist yet, to create a shade that lives somewhere between a childhood memory and a glossy adult moment, a shade that has the softness of wax, the comfort of a balm, and the whimsy of pure color play.
The Exact Moment the Crayon Melted Into Something Beautiful
The transformation happened slowly at first, with the crayon shavings resting patiently in the spoon as I held it above the candle flame. They melted into tiny glossy puddles that kept swirling and separating most softly, as if they needed encouragement to come together.
I dropped a bit of balm into the spoon, watched it soften, then stirred everything gently with a wooden stick. The colors started blending in this mesmerizing dance, turning from flecks into liquid, from liquid into gloss, and from gloss into what looked like a tiny pool of melted candy.
When the mixture finally turned uniform, I felt the kind of excitement that bubbles up when you realize your experiment actually worked. I lifted the spoon toward the light, tilting it carefully, and the mixture shimmered with the faintest reflection, like caramel warming under sunlight.
It was such a simple moment, yet something about it felt magical, almost ceremonial, like I had unlocked a secret alchemy of color and wax.
How I Made the Melted-Crayon Balm
I’m not someone who measures strictly or follows rigid steps, so this is the creative, intuitive version of the method — the one that lets you feel like an artist instead of a chemist.
What You Need
- A crayon in the shade you love (or a mix of multiple shades)
- A spoon (your tiny melting palette)
- A candle or gentle heat source
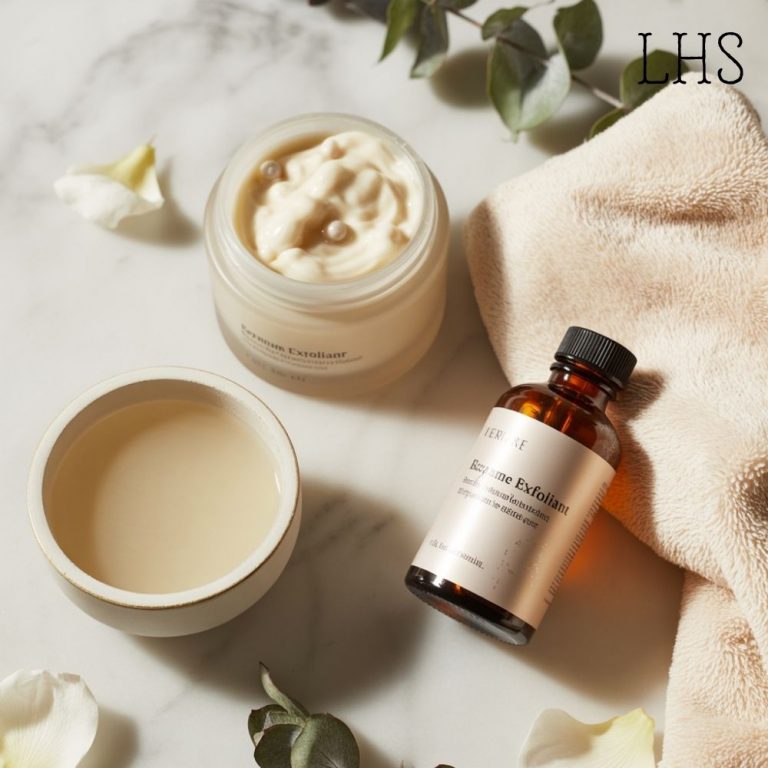
- A plain lip balm or a scoop of shea or coconut butter
- Something to stir with
- A tiny container to pour the mixture into
How I Melted and Mixed
- I shaved a small piece of crayon — just enough to give pigment without making the balm too stiff.
- I placed the shavings into the spoon and held it over the candle until they started to melt into a glossy pool.
- I added a small amount of balm right into the melted pigment, letting everything soften and relax together.
- I stirred slowly, watching the pigments and wax swirl into one creamy color that reminded me of melted sweet icing.
- I poured the warm mixture into a tiny pot and let it cool until it solidified into a perfectly smooth custom balm.
The entire process felt less like making makeup and more like creating art, like making a miniature sculpture of color with fire and movement and curiosity guiding every step.
Why This DIY Shade Felt So Different From Anything Store-Bought
Store-bought lip colors are gorgeous, but they often feel predictable. But when you melt a crayon with a balm, something unexpected happens: the pigment softens, the wax warms, the undertones deepen, and the color becomes something that doesn’t fit neatly into any category.
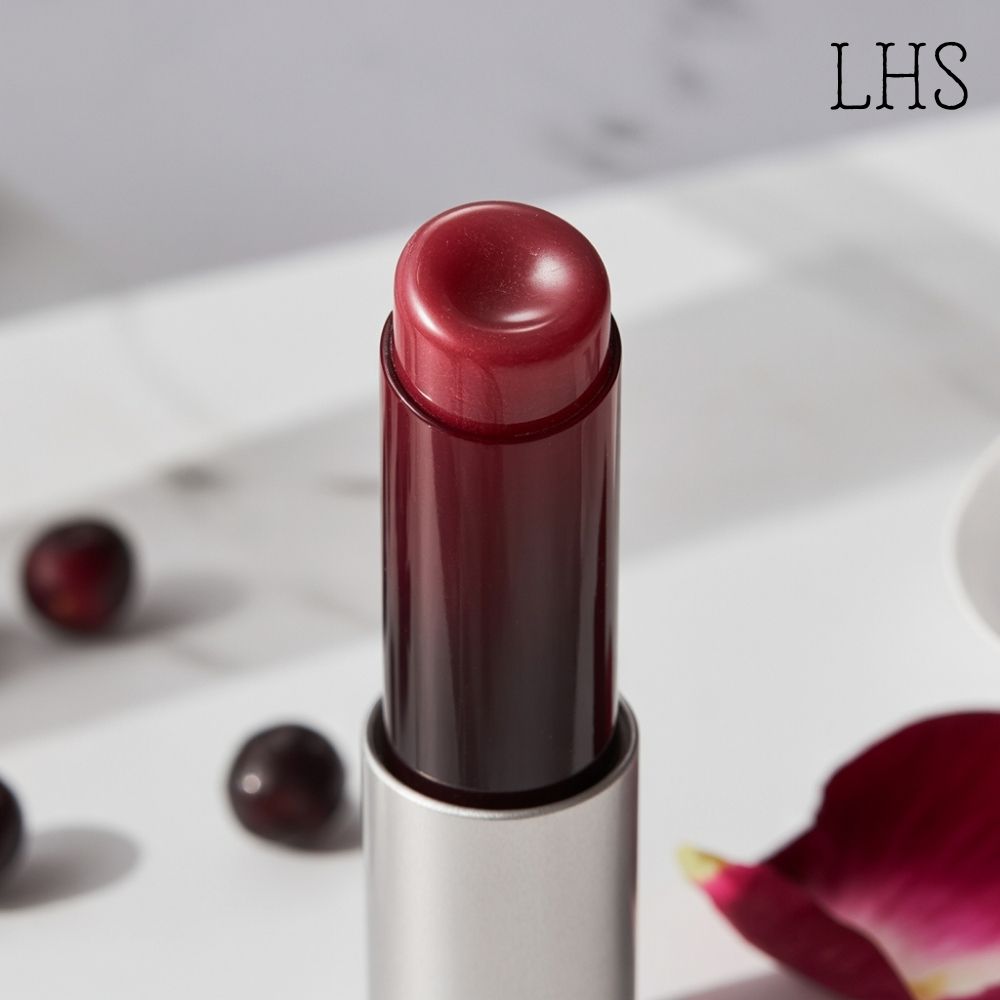
My melted-crayon balm looked like a cross between a watercolor stain and a sheer gloss, with enough opacity to feel intentional yet enough softness to feel effortless.
It had personality. It had charm. It had that artistic unpredictability that comes from blending materials in ways they weren’t originally meant to be blended, which is exactly the kind of magic I love.
How the Balm Felt and Looked Once I Tried It On
When I finally swiped the balm across my lips, the texture surprised me. It was smoother than I expected, lighter than a lipstick, shinier than a tint, and somehow more hydrating than my plain balm had been earlier.
The color settled into this beautiful soft stain that reminded me of watercolor petals. As I looked at myself in the mirror, I realized the shade didn’t remind me of any existing product; it looked like it belonged on a moodboard filled with glossy magazine tears, paint swatches, and dewy abstract images.
It was the kind of shade that felt alive, the kind that invited you to tilt your head just to see how the light played across it.
A Tiny Jar of Color, A Whole World of Possibility
If you’ve ever felt unsatisfied with the shades available to you or if you’ve ever wanted a color that felt uniquely yours, then melting a crayon into a little pool of custom balm might be exactly the creative ritual you didn’t know you needed.
Let yourself fall in love with the freedom of creating a shade that exists nowhere else in the world except in your tiny pot and on your lips.